MYOB Summary

It has been an extremely rewarding experience to be part of this team and part of this project. Each member has contributed and I’m proud of what we’ve accomplished. The workload combined with time restraint has been difficult to work with, yet we have managed to do it. Whilst it has been challenging to submit so many deliverables, it has been made easier by delegating the tasks between the team. I wanted to make sure I evenly distributed the work and played to each individuals strengths. I employed a project task list and timeline to keep track of progress and assignments.

There were some tasks that we all had no knowledge of and it was important that we learned how to do them. Most of us have never CnC’ed anything before nor have we slip casted. By using these methods, we have picked up new skills that we can bring back into our subjects and take with us into the professional world. It developed our understanding of setting up a business and homed in our different areas of expertise. With many of the methods, we had to rely on the knowledge and experience of experts (either on teammates or from external sources).

The processes we all enjoyed doing were the mould making and the slip casting because they were relaxing and rewarding to do. I would quite like to go back and try other things in ceramics. Slip casting was such an interesting concept to us, however we misjudged how long it would take to make the moulds. Once the moulds are made they are reusable (just like the models are) and then you can proceed to the slightly faster part of slip casting. Hand carving into the vessels and quality checking them also took an exorbitant amount of time as there was so many to do and we did not have enough manpower. On the other hand, it was vital that we made sure each vessel was high quality and that the design was appealing to customers.

Before our sales event, we had a lot of different factors to think about: our point of sales stand was still in its concept stage, we didn’t have a card reader, what would work with the location we would set up in, etc. There was even a worry that our necklaces wouldn’t sell as it appeals to a niche market. However, they did sell and we successfully earned back all our seed money with extra profit.

I’m glad that despite all our setbacks we were able to come through it all and complete the project. Since we had a number of disadvantages, I doubt we could do much better than what we have already achieved, but that is okay because we have flourished through the adversity. What pleases me the most is that I have gained more experience in managing a team whilst learning more business and creative skills.

Fashion Visualisation

Working along Fashion Marketing, we will be reusing, remaking and recycling clothing to create an environmentally-friendly shirt. Sustainability is such a current issue prominent in our lives so it is important that we incorporate it into our work. When our garments are finished, the fashion marketers manage their exposure on different medias (including social networks). Seeing they’re side of the industry will be very rewarding as fashion circulates largely around conveying a message through presentation.

The brand I have been allocated is Zara and I am happy to designing with their aesthetic. All those car adverts on TV have given me a vision to devise a shirt for working men that can be multifunctional enough to be worn outdoors in an apres-ski fashion. It will be sensible for the work place whilst also being suitable for a countryside environment.

The Mini Cooper Countryman car paused on a rural road before a cinematic cloud coverage.
Source: https://www.youtube.com/watch?v=eJHBokDPWqU

Having asked the target market their opinions, they believe it is “a bridge between two modes”, one being a worker in an artificial landscape, the other being a relaxed explorer in a natural outlet. Cutting down on the need for more clothing will be beneficial for the environment and will give the consumer a hassle-free experience. One of the problems shirt-wearers have is that they don’t find them comfortable. They want “soft” and “durable” shirts that are less constricting, not loud or garish. The fabric has to breath and the shirt has to allow flexibility in movement. Taking this into consideration, I shall come up with ideas in which to craft a more versatile style of shirt.

A trend that is starting to emerge is the shacket: a shirt and jacket combined into one. This could very well help me in my aim to make a transseasonal, multipurpose garment.

Cardiff Met Award

I was introduced to this award at one of my university’s careers fairs and have decided to strive for it.

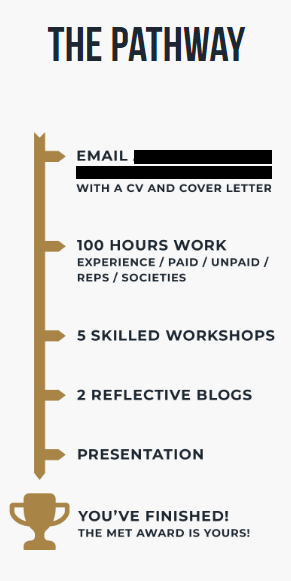
It entails following a pathway by completing several tasks:

Since starting the award, I’ve been excited to learn more useful skills that will be appropriate for working in the job industry. The limited amount of experience I’ve had so far has allowed me to understand the work dynamic and develop my abilities, however, I’m still struggling with my confidence in them.

My first action was to apply the advice I received about my CV and cover letter, improving them, bringing them to up-to-date, so that I will feel satisfied enough to submit them to employers. Now I feel that I am prepared to begin getting relevant work experience. I have also joined the GoWales programme – which will help me not only to gain and enhance skills but aid my search for job opportunities. This term, I plan to find a work shadowing opportunity or a work placement to get me going in the right direction and apply what I’ve learnt.

The most valuable information I have been given – and will definitely use as I move forward – came from a Time Management workshop. We discussed different ways of planning time, categorising tasks and breaking them down, which helped me to approach work in another way. It helped me recognise that I had a lot of ‘Live Frogs’ (tasks that jump from day to day without being done). As time management is one of my greatest weaknesses, I shall take heed to what has been advised and utilise it as much as I can. Hopefully I will eat as many ‘Live Frogs’ as possible this term to prevent them jumping about all the time! Too often have I found myself doing this:

I have already adopted some tactics, like categorical grids, to get me through my coursework and meet deadlines. Some of them have worked well for me and others were less effective. It seems highlighting and colour-coding helps me decipher what category a task is better than laying it out in a table (plus, it makes the page easier to look at when it has a splash of colour). On the other hand, a priority grid enables me to see what order I must do the jobs, meaning that the most important and urgent tasks get done in time without me forgetting them or letting them slip by.

Even though the Cardiff Met Award pathway requires me to go to more workshops, I actively want to go to them because they are very beneficial to me. There are many employability ones that I am planning to go to as well as art ones that teach more practical skills – both types of workshops can be brought back into my subject.

The Beginning of Light

New project, new people. As a collaborative project, we will be working as a team with students from other courses: us fashion students will be working with those from Product Design and Textiles. It’s a refreshing prospect and I’m exhilarated to be working with new people.

My Field Collaboration Team

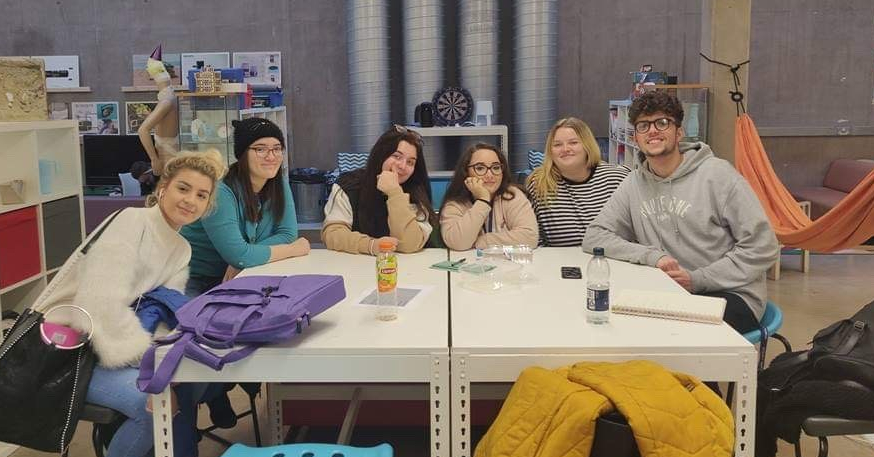
When I met with my team, I was introduced to a diversity of individuals. Elise is the only student from Textiles in our group and she’s probably the most organised out of all of us, bringing her notebook and setting off with tasks right away. Eva has Italian roots while her friend, Calli, is Welsh – they can render drawings and draw hands well. Having worked with submarines during his apprenticeship last year, Joel has experience with engineering which works well with his subject, Product Design, and will certainly be an advantage to us. I am accompanied by Evie and Joss from Fashion Design so I can consult with them on the fashion side of things. We all have our separate talents which will be beneficial for when we bring our project together.

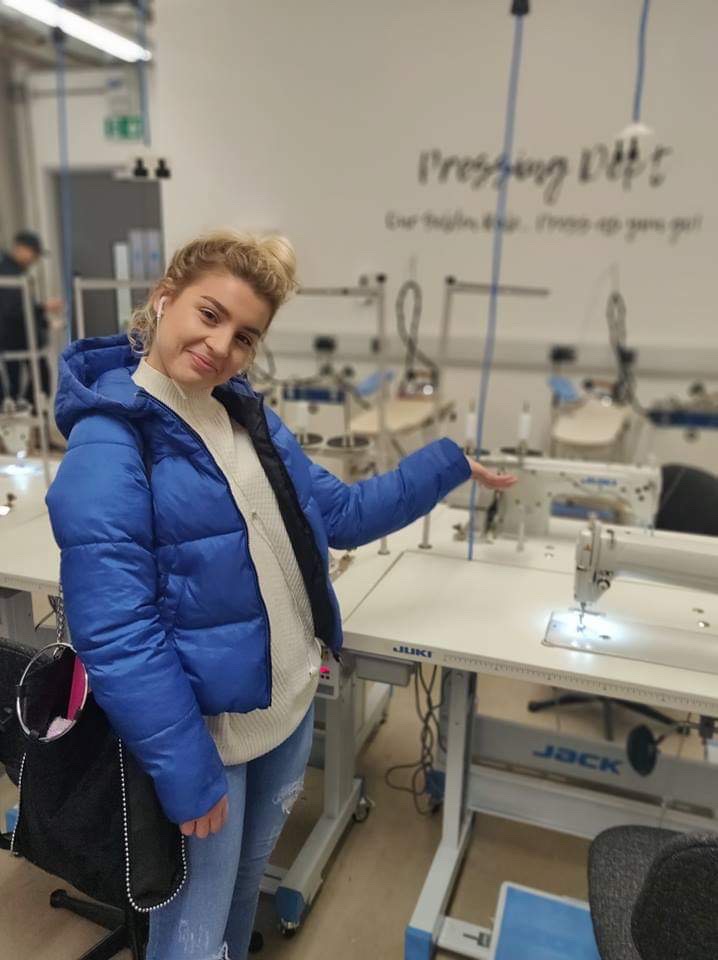
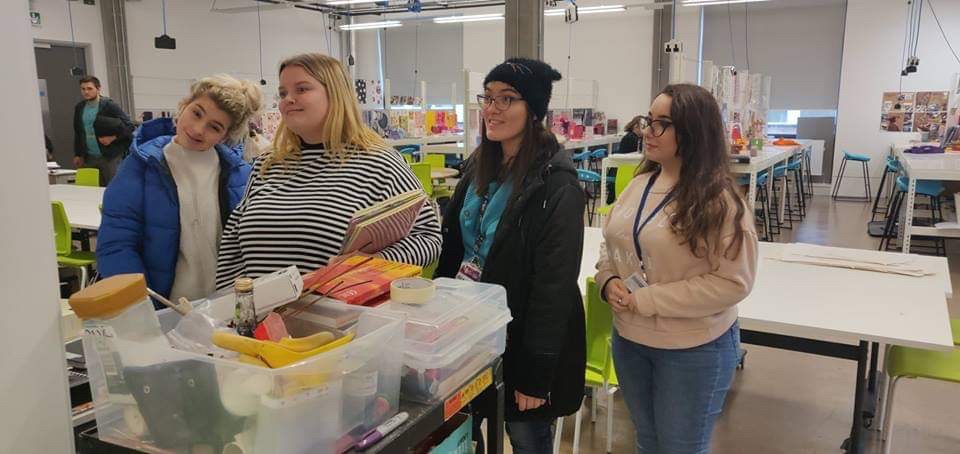
After our introductions, we then toured each other around our studios and work spaces, finding out what resources and equipment was available to us in each one.

Our fashion studios have various industrial sewing machines, a pressing station, dress stands, Mac computers and vast table space.

I am envious of the textiles studios as they have their own individual space with fabric boards they can utilise. They have advanced stitch sewing machines that can embroider lettering, weave threads and create intricate surface decoration. The product design studios also have amazing technology – from laser cutters to 3D printers – but I am most astonished by their common room space in their studios. In that space, they have a hammock, pool table, shelves of games and other entertainment. The prototypes and past work littered around the place were very impressive and I look forward to creating designs incorporating products like them.

In the first section of the project we’ll be working within our subjects (so I will only be working with Joss and Evie to start with) and then in the second we come together with the others in our team. Having accumulated a good sense of what our direction will be, we set about with making moodboards.

Elise favoured the cellular structures trend, Evie and Joss wanted to use neons, and I see great potential with vaporous hues; though this combination seems unlikely, I believe that we can make it work. My idea to link all this together with the theme of light is to use the inspiration crystals and geodes. The colour scheme ranges from pastel to neon and they have a naturalistic network structure that will work with cellular. If we come to try it and it doesn’t work then we can adapt things and make it more focused.

End of Macro World Photoshoot

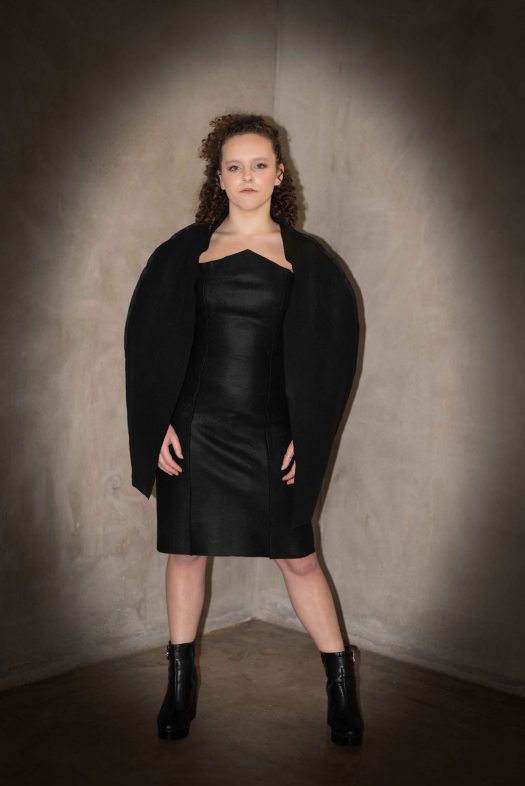
The Macro World project has finally come to a close and my graveyard-inspired outfit is now finished. I’ve learned a lot from the obstacles I’ve had to overcome to make this idea a reality.

Looking at the photoshoot images now, I can still see where I can improve (reinforcing the cape’s shape would be one thing I would reconsider). My beautiful model, Amy, had some difficulty keeping the cape on as I had not had the chance to cut arm holes into it. If I did that and it did not stabilise the cape on the body then maybe straps or shoulder padding would suffice. I was also intending to have machine embroidered a chain pattern down the seams of both the cape and dress but the sewing machine had trouble with the felt. It worked fine for the sample (as you can see below) yet it just wasn’t happy with it when it came to the final product.

Chain Stitch on Specialised Sewing Machine. The top stitch is how it comes out of the machine, however, I like the uninterrupted line of the back of it (see bottom stitch).

I am happy with how the free machine embroidery of the vines turned out. The neckline coming to a point is very flattering and I reckon the hem could go a little higher. I have got to get me a pair of those boots as they work so well with this style of garment.

Tom, my photographer for the shoot, did a brilliant job taking the photos, editing them afterwards with vignettes and placing them on different backgrounds. The darkness and shadows really compliment the clothing while the highlights draw the drape of the fabric out. It kinda encourages me to take my camera out for a spin more often.

Stitch Workshops

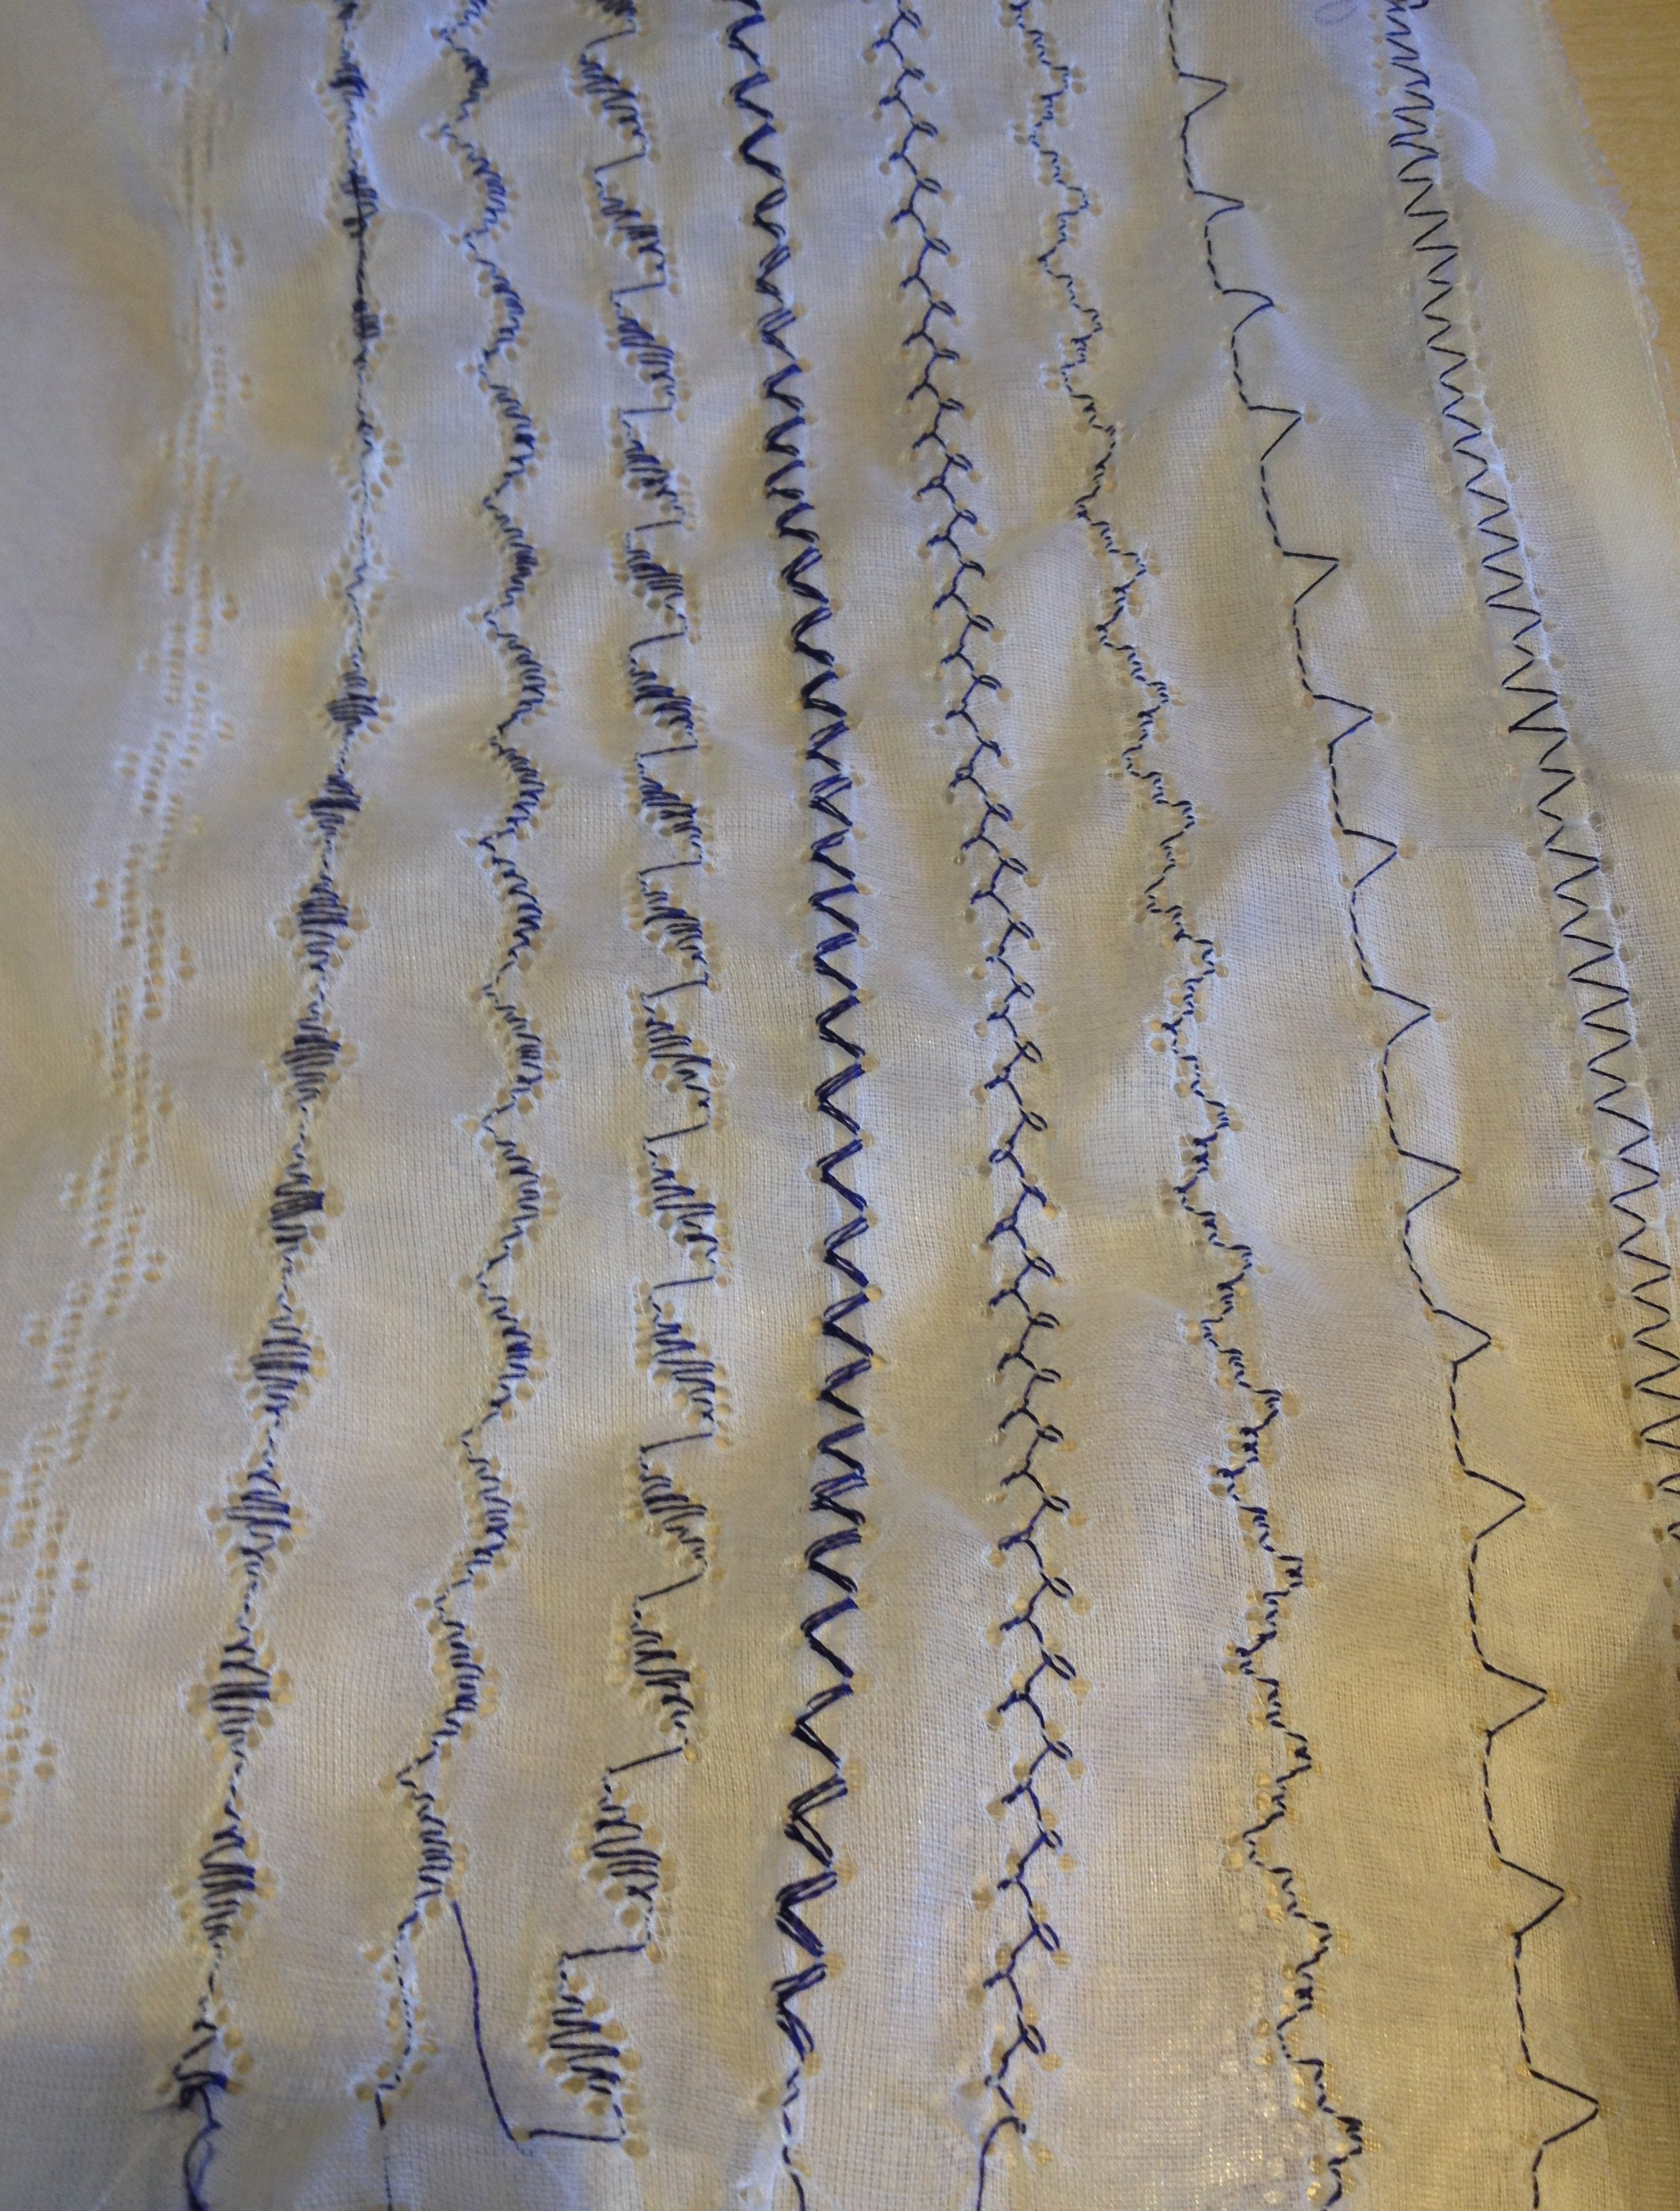
A technique I’ve been eager to discover more about is dissolvable lace. You can create your own lace design by doing machine embroidery on dissolvable plastic. The finishing effect is interesting and can be tailored more into what your design is. I attended the stitch workshop that focused on this technique and I created some really good samples that I will be adding to my designs.

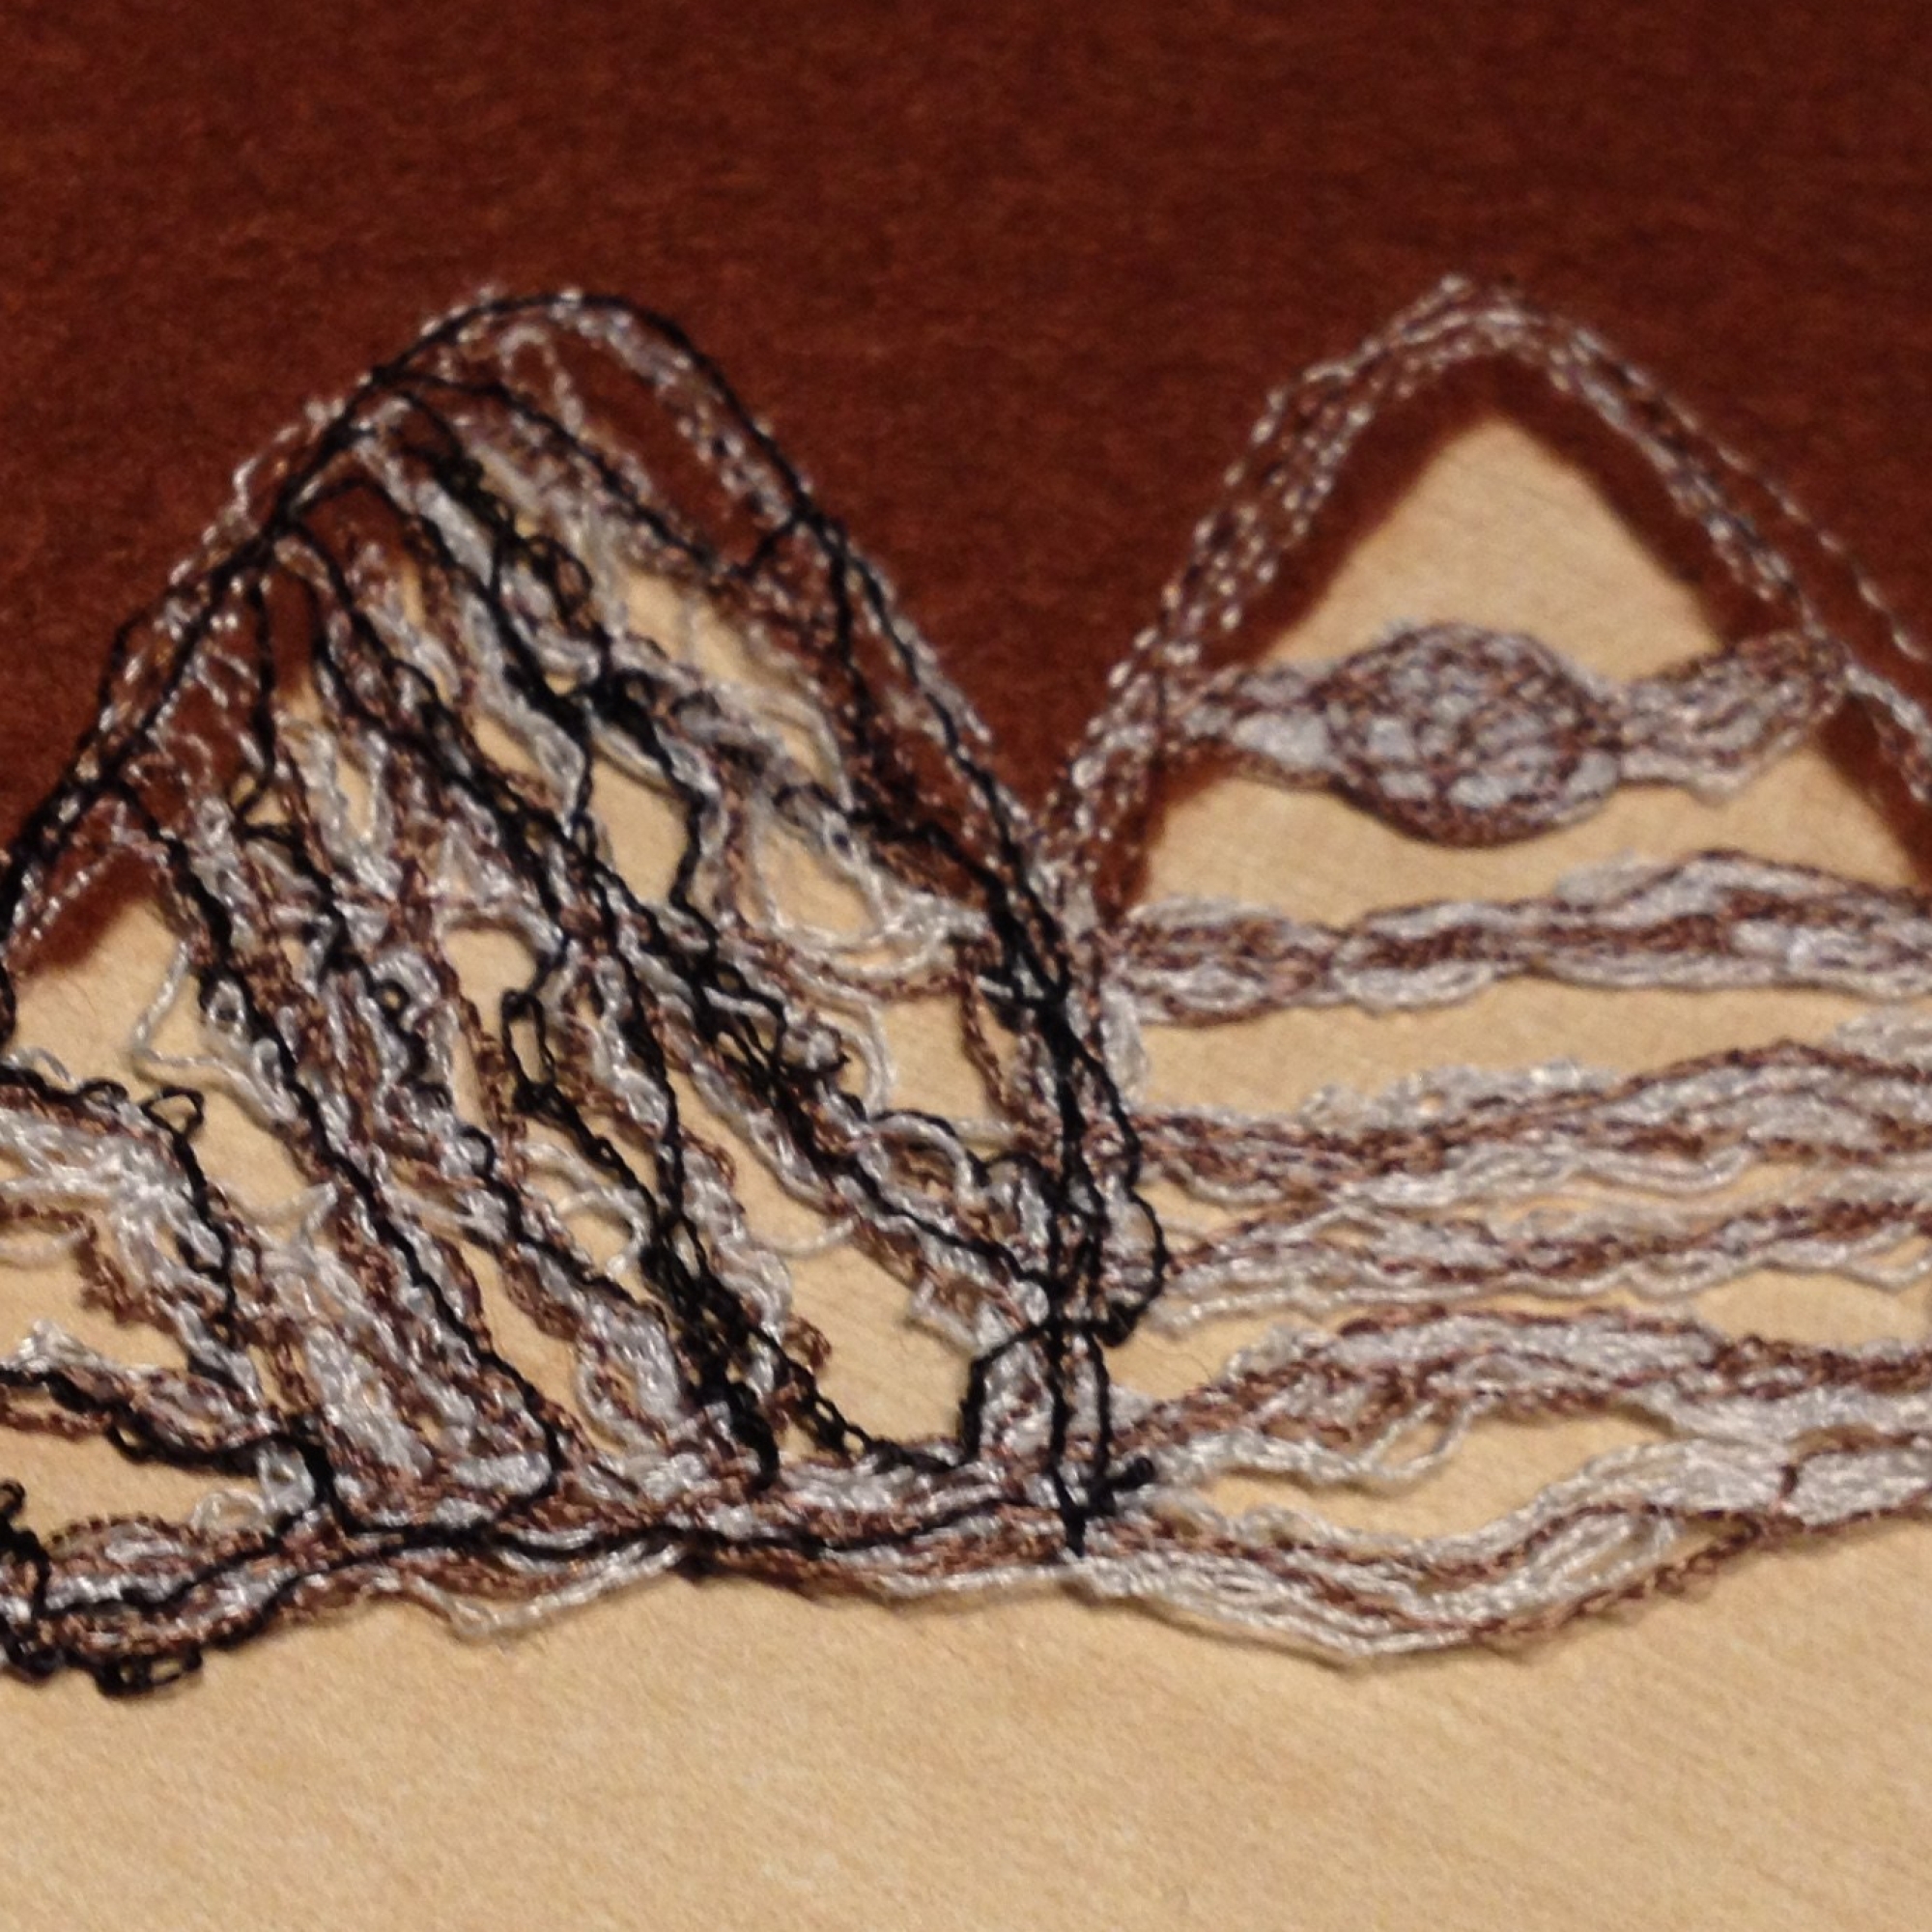
There was also another one held purely to ‘speed date’ the techniques. This meant that we had 15 minutes to spend practising each technique before we moved onto a different one. Getting to grips with the settings of the machines and how to use them per technique proved to be a bit difficult but at least we had instructions to guide us through them.

I think that the fringing will be a useful one to remember for future projects – and the cording – however I favour the specialist machine embroidery and the pintucks as they make lovely decoration without much hassle. The felting, to me, looks the least refined and I’m not a big fan of it.

Going forward, I think I am most likely to use the circular dissolvable lace design based on the vines crawling up the gravestones in my primary research. If it fails, I can always use the cording machines to mimic the vines instead. I even saw a suitable decorative stitch on the specialist machine that matches the celtic engravings on the gravestones.

Pleating By The Professionals

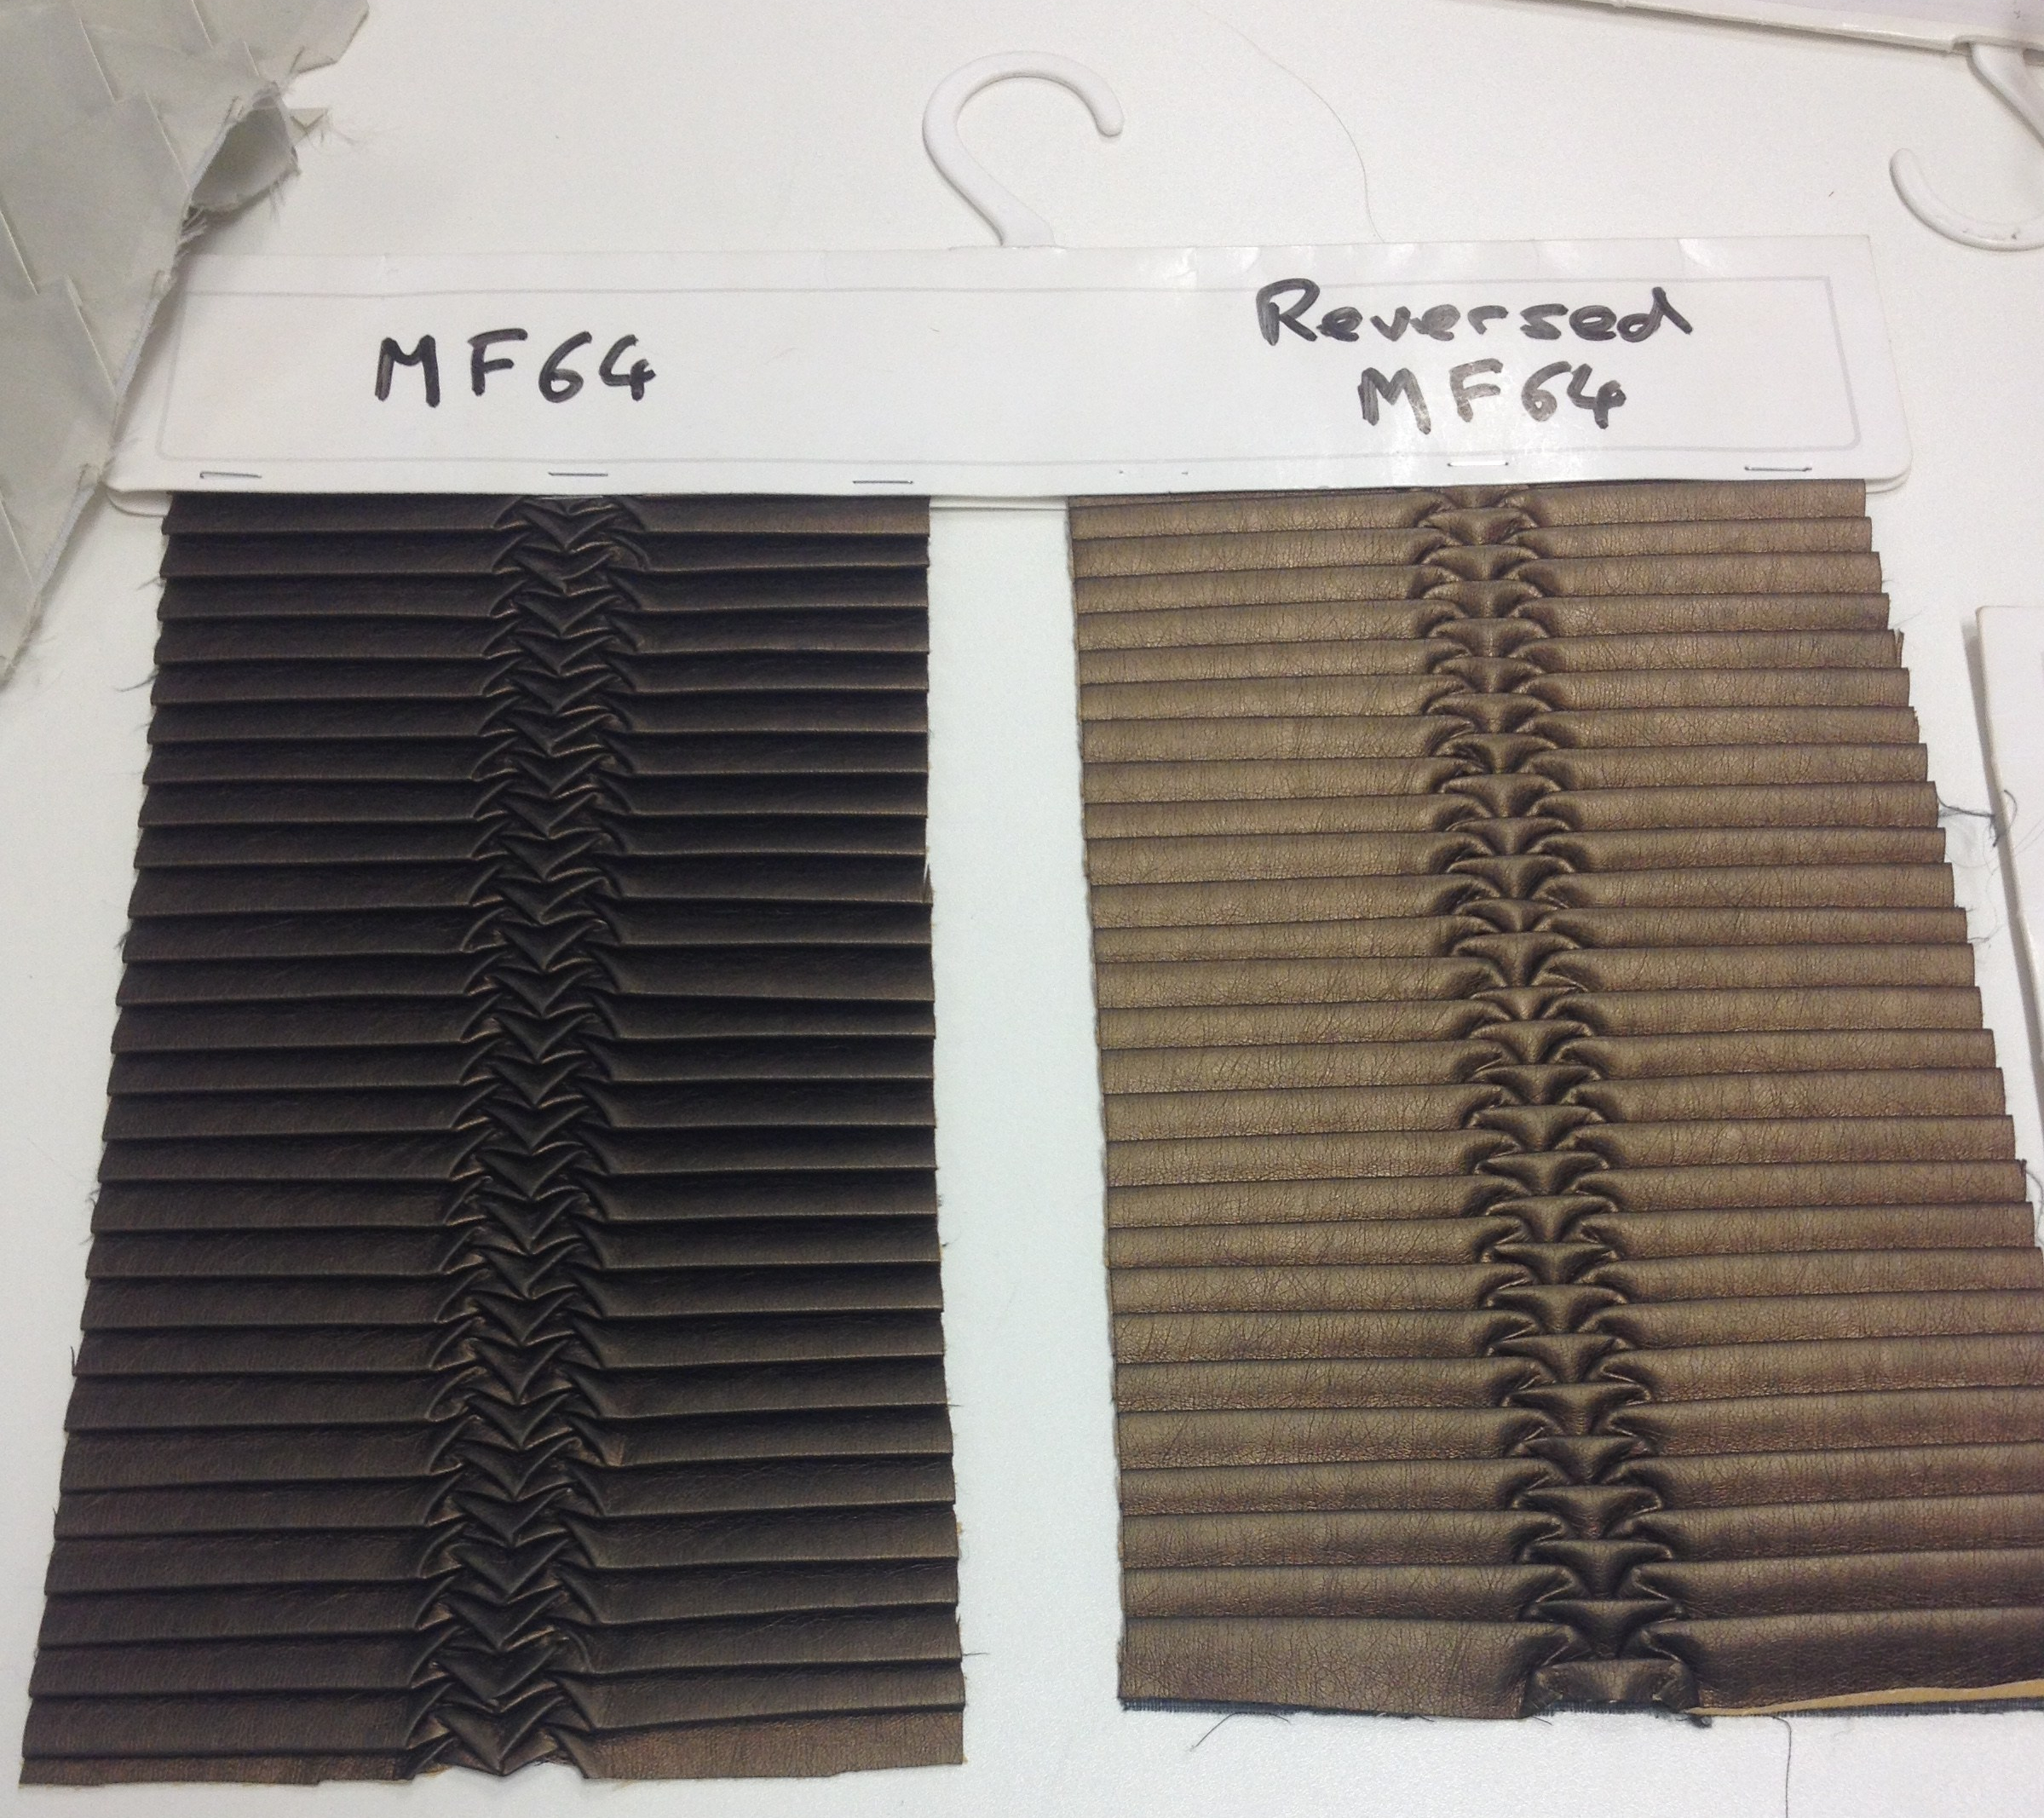
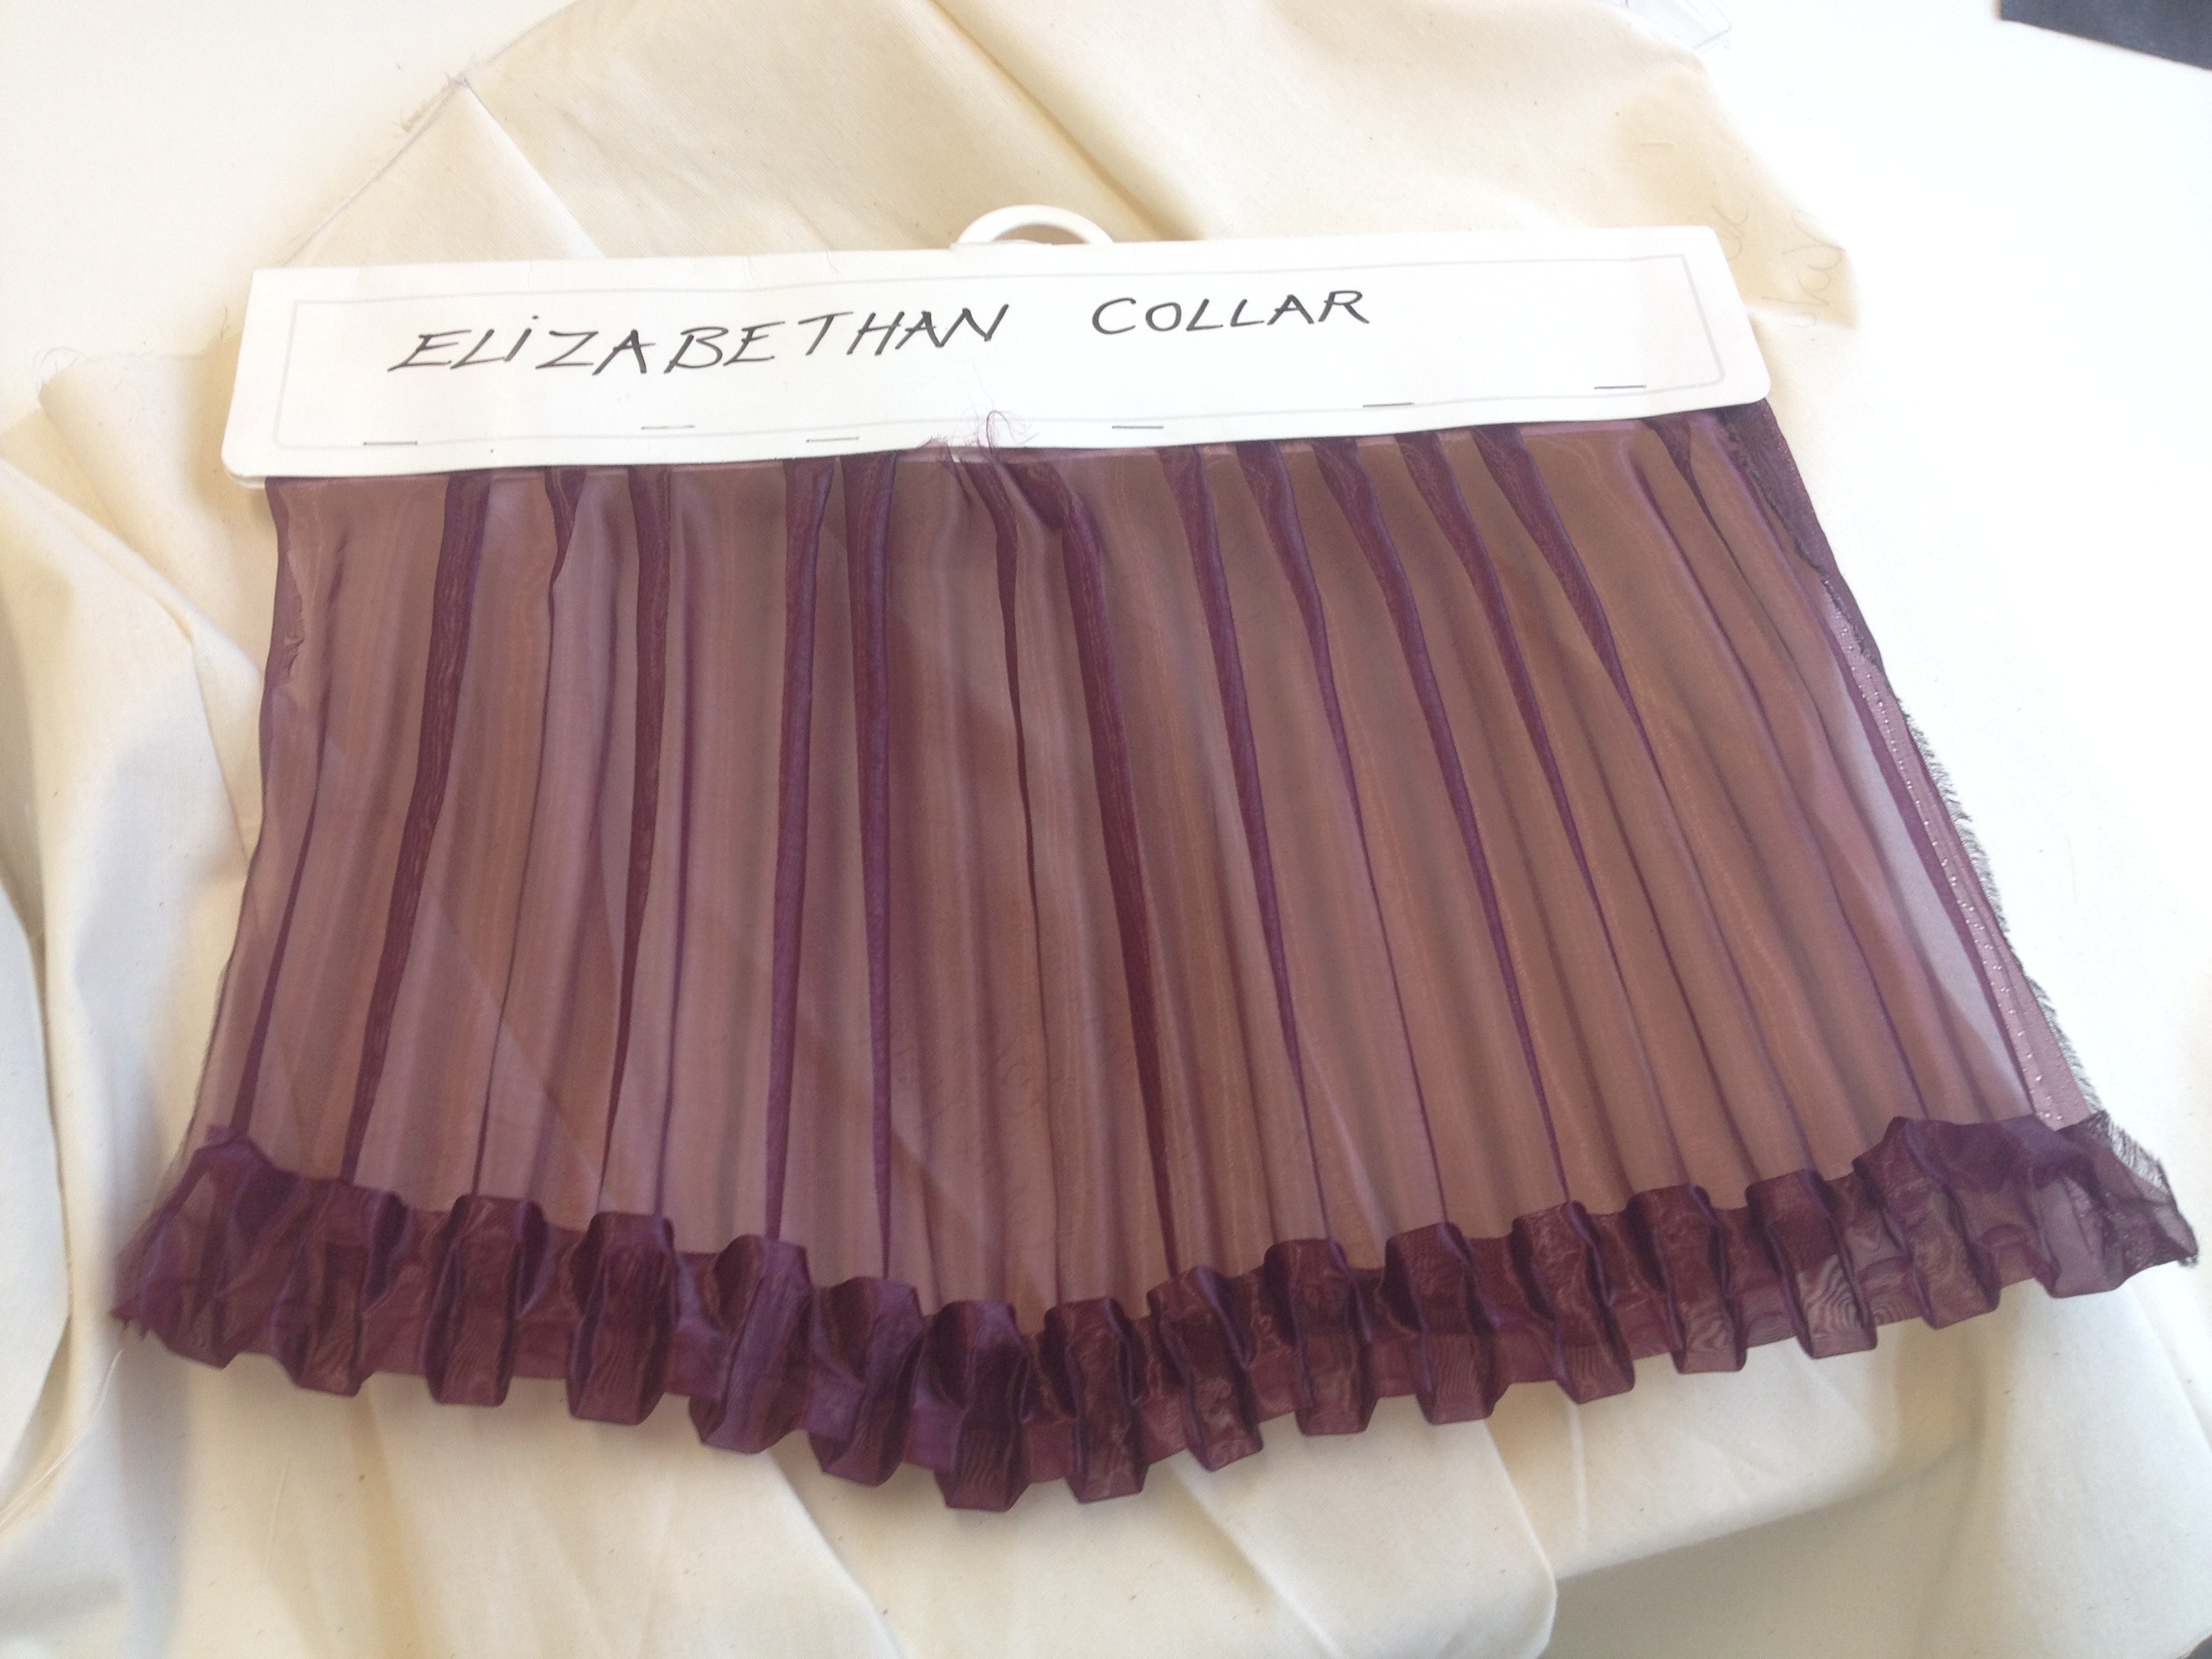
On Monday, we had the pleasure of having a talk from Matthew Weinert (Managing Director of F. Ciment Pleating Ltd). He explained through the process of making a pleat and showed us examples of his company’s pleating.

He demonstrated that they make cardboard moulds using origami techniques and then stretch them flat before sandwiching the fabric between them. It is then folded back up into the design, steamed into shape and left to cool for an hour. The end result is crisp, intricate pleats.

Video by Ciment Pleating (Youtube)

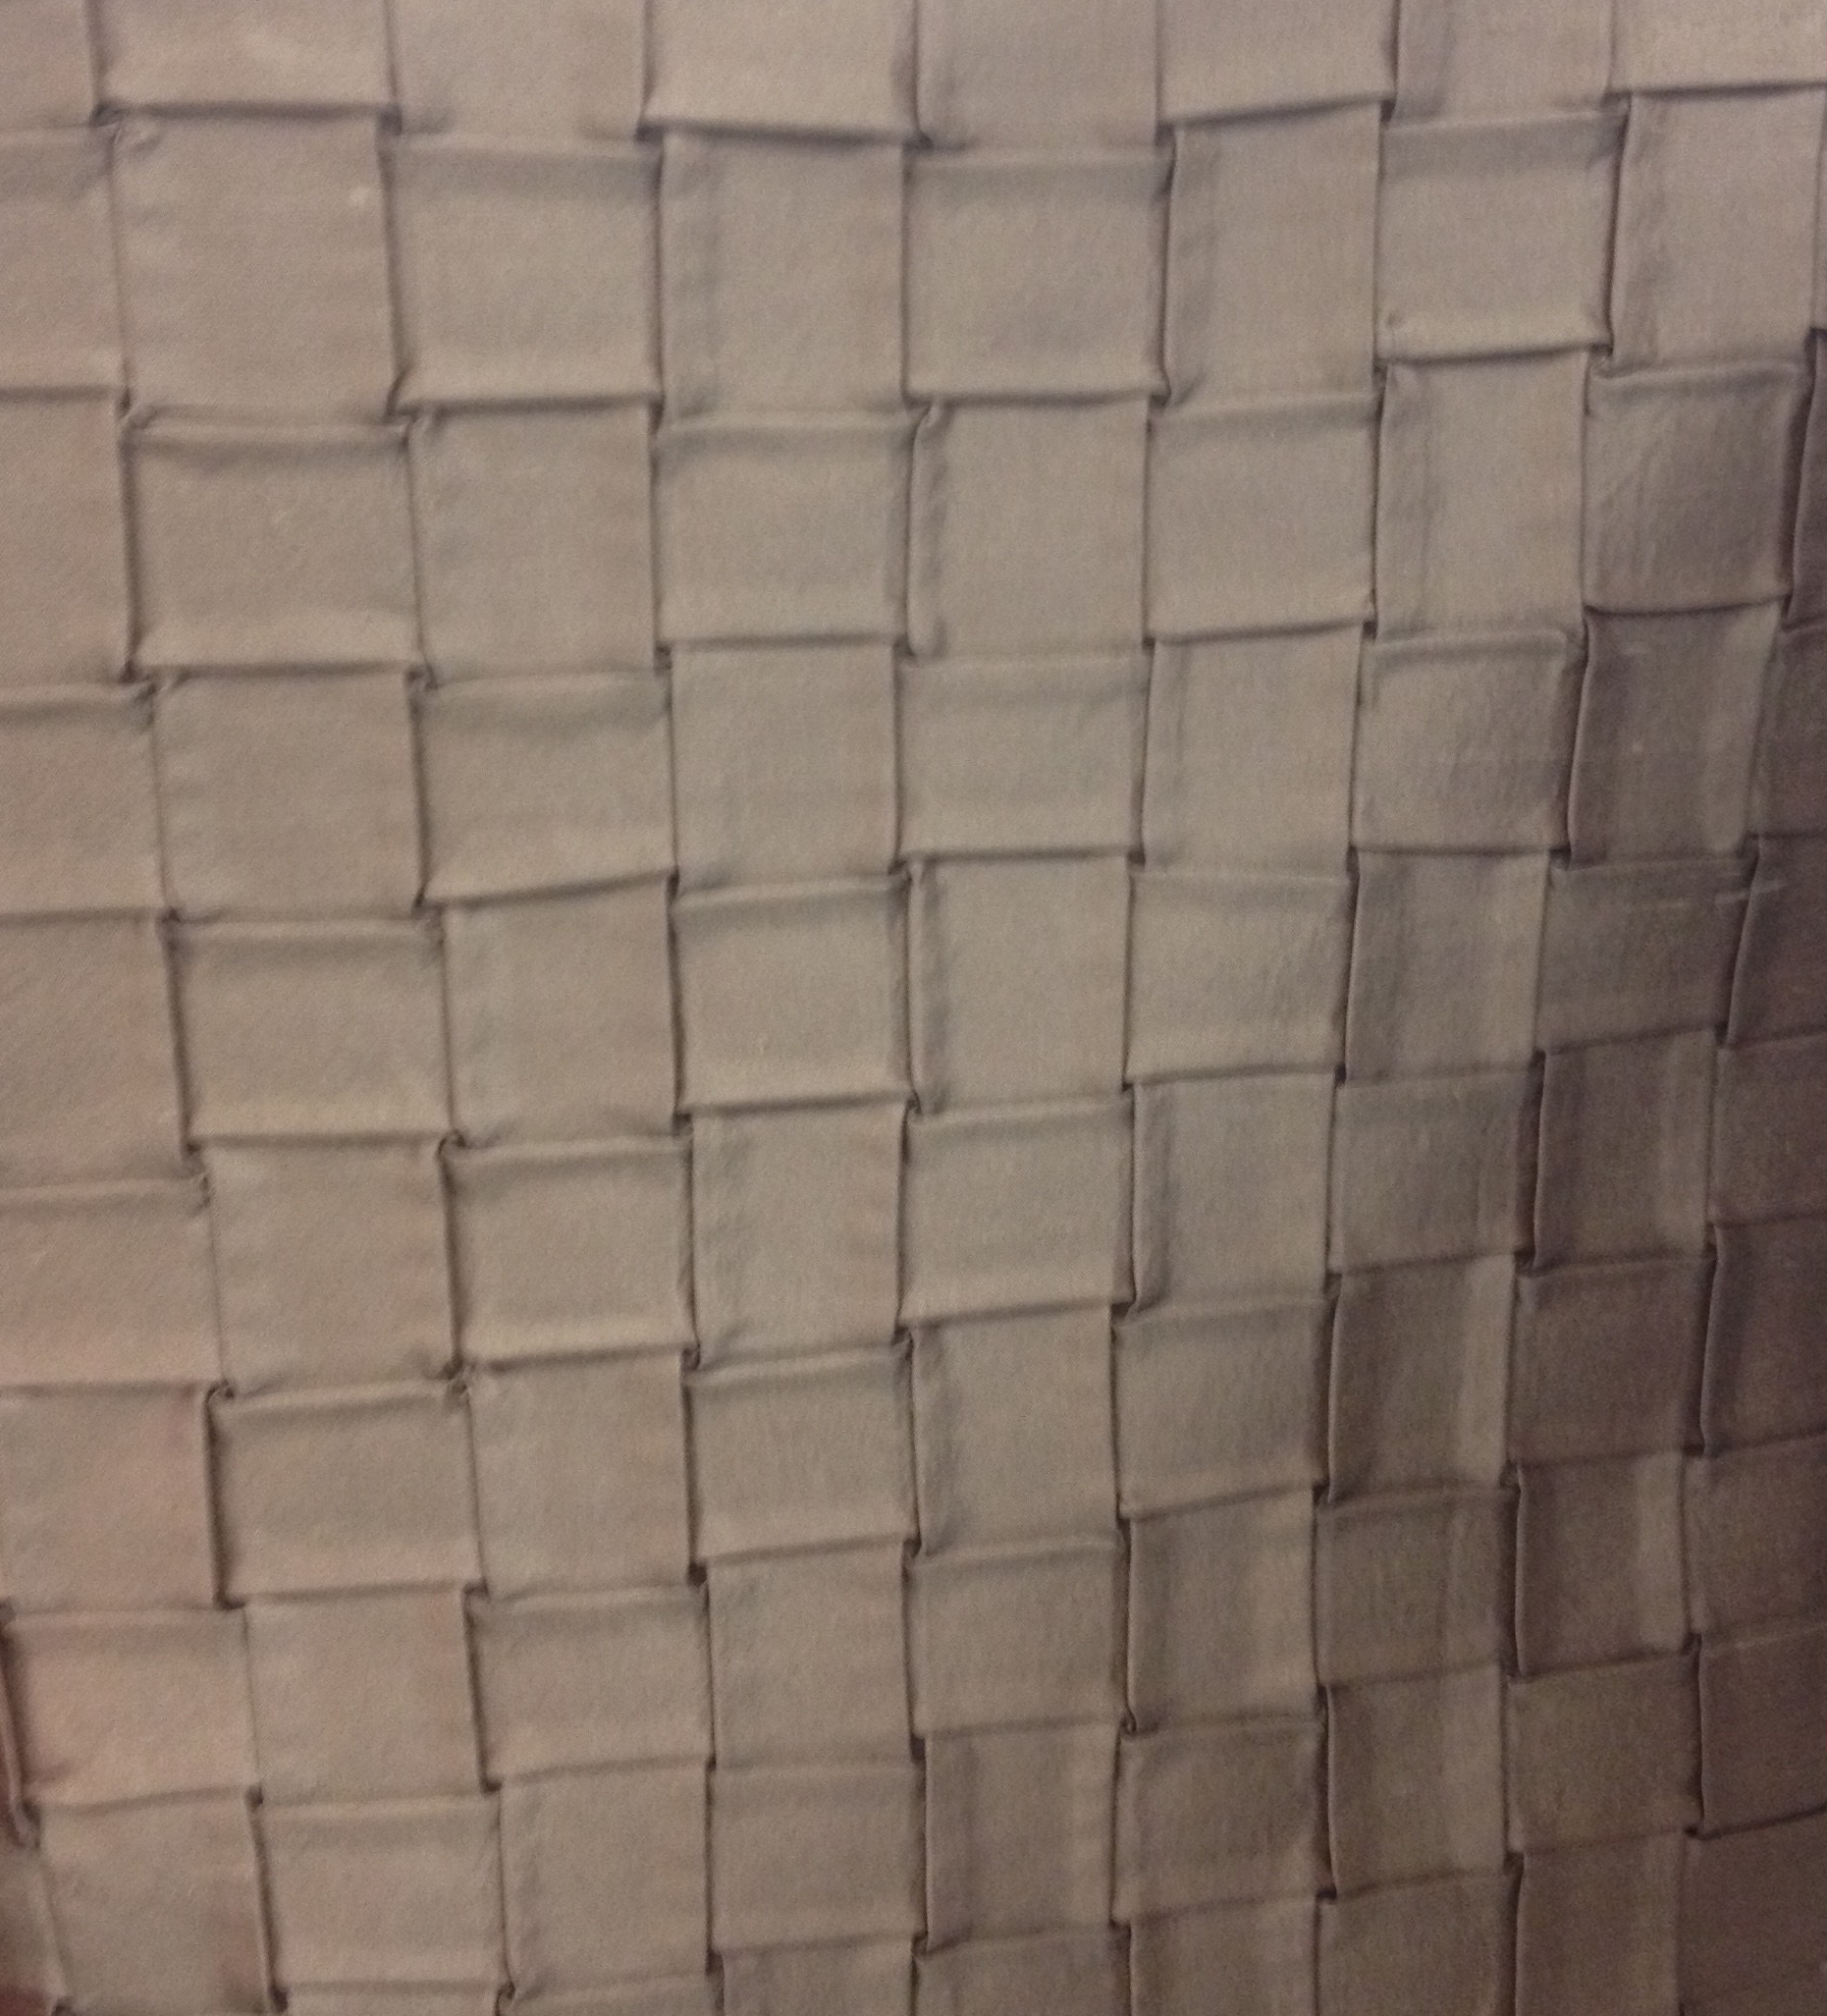
I am excited to use this technique in my work as it manipulates the surface of fabric, giving it a different texture. My favourite pleats would be the basket weave, the cracker and the one used for Daenerys Targaryen’s Cloak on Game of Thrones. The basket weave shocked me as I genuinely thought it was a weave and not a pleat: I had to stretch it out to see that it was actually a pleat.

The Politics of Beauty

Since the beginning of ‘The Politics of Beauty’, I have been pleasantly surprised by the subject and layout of the lectures. My lecturer, Dr Jennifer Whitney, discusses about relevant and insightful topics surrounding the theme of beauty. I am enjoying the perceptive analysis going on in each session and it is a nice change of dynamic from my course subject. There are a lot of links between fashion and beauty, therefore it is very useful to me to be taking ‘The Politics of Beauty’ for Constellation.

This slideshow requires JavaScript.

Powerpoint by Dr Jennifer Whitney

We touched upon Romanticism and femininity during my English Literature A-Level as well as how to study texts so I found the work is not to hard to get through. It will also be beneficial for when I write a 1000-word formative essay and a 1000-word blog post for the module. I will soon be choosing a topic and a case study to base these texts on and I have thought of many that I would like to pick. Artificial beauty engages me the most, therefore I am researching into it and deliberating on electing it as my topic.

Finishing the Toile

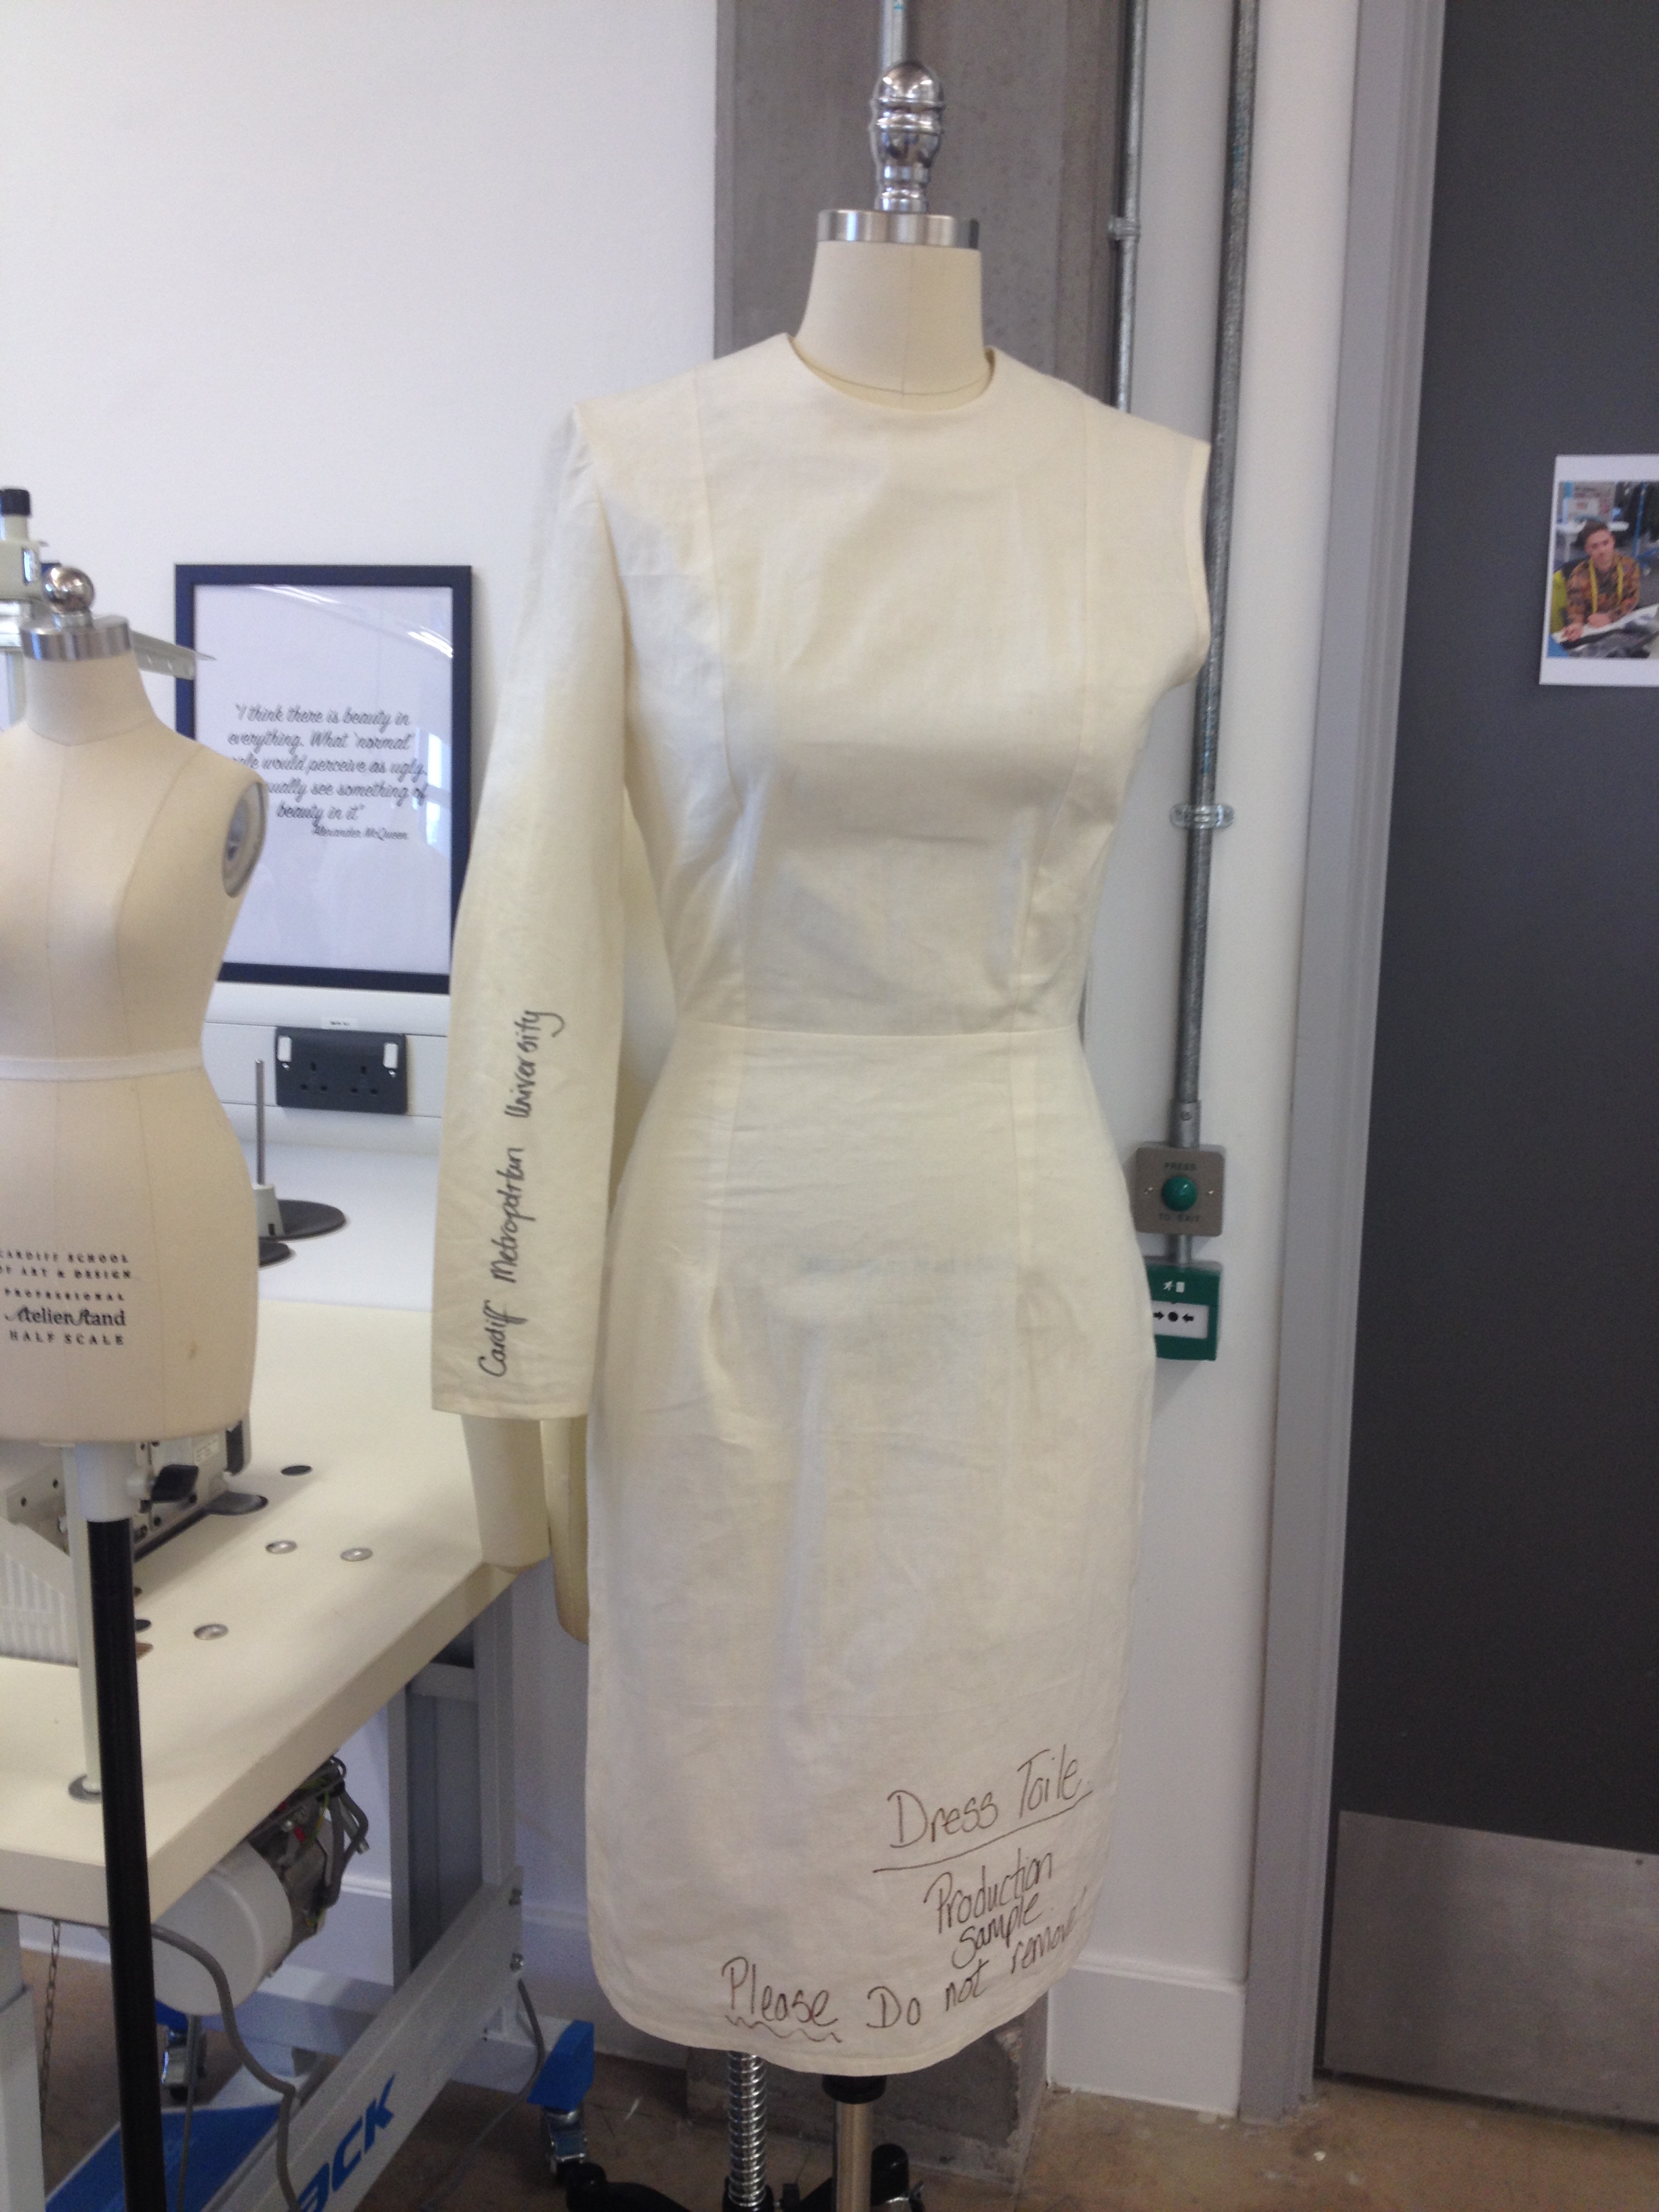
Taking the techniques we’ve learned from the previous fashion fundamental lessons, we began to make a simple dress with one sleeve. I found pattern-cutting and pinning the fabric in place easy, however sewing the seams was harder when it came to the curved bits. The most difficult parts for me to do was to pull back the teeth to sew the zip in and sew the sleeve into the armhole. Although it was quite stressful when I experienced problems, I managed to overcome them and achieve a good result.

IMG_0903

For my final design, I will be making a dress similar to this. I want to use the princess line to make the bodice and skirt more fitted. To make it sleeveless, I’m going to be changing the top half of the bodice and removing the armholes. I’ve played around with different styles and silhouettes on the mannequin to help me come up with designs to achieve this. The variety of materials used gave me an accurate indication of how they will perform when worn on a bigger scale. I love the look and behaviour of black organdie, furthermore it would work well with my idea for my final design. It’s a constrasting effect and texture to the felt which will add more dimension to the dress.

Exploring the Basics

Fashion fundamentals lessons started with seams, hems and overlocking. We were taught how to make them, how to press them open or folded, and how to identify the right and wrong sides of the overlocking. The speed of the overlocker is quite drastically different to the speed of the sewing machines at the moment so it takes some getting used to when switching machines. My stitching is still haphazard, therefore I shall have to practise more on scraps of fabric.

Moving on to pattern-cutting, I learnt how to paste patterns to remove darts and create new ones – making different styles of sleeves, bodices and skirts. This process interests me the most as you can change up patterns to make more complicated designs. The princess line removes all darts to create a fitted bodice and that will be what we will be using for our practise dress (toile).

Machine Embroidery


Coming from a textiles background, I have had experience with machine embroidery. The selection of stitches are vast but I still love to do hand embroidery. On the other hand, the speed of the machine makes the process more efficient. Doing free hand embroidery on the machine can create some interesting designs and is a good go-between for machine and hand embroidery.

Free Machine Embroidery sample

The colours in this sample are a drastic difference to the colour palette of my theme and the project, however, it presents an interesting contrast. With the free machine embroidery, I followed the lines, patterns and shapes of the gravestones from my primary images. I loved how this sample turned out and I believe the middle pink aztec print gravestone is the best part of it as it draws your eye to a focal point.

Design a site like this with WordPress.com
Get started